

Isn't it curious how the very machine that brews your morning ritual can also harbor unwanted gunk? You might not realize it, but cleaning your coffee maker is essential for maintaining its efficiency and ensuring that each cup tastes just right. So, what's the best way to tackle this seemingly mundane task? Understanding the steps and tools involved can make a significant difference, and you'll want to know how to keep your coffee tasting fresh while avoiding common pitfalls. Let's explore the cleaning process together.
Key Takeaways
- Fill the reservoir with a 50-50 mixture of white vinegar and water, then run a brew cycle halfway and let it sit for 30-60 minutes.
- Complete the brew cycle, discard the solution, and run 2-3 cycles with fresh water to remove vinegar residue.
- Clean removable parts daily with mild dish soap and a soft-bristled brush to prevent buildup and odors.
- Perform a deep clean with vinegar or descaling solution monthly to eliminate mineral deposits and ensure optimal performance.
- Use filtered water for brewing to reduce mineral buildup and enhance coffee flavor while avoiding distilled water.
Importance of Cleaning Your Coffee Maker
Cleaning your coffee maker is essential for maintaining both the quality of your brew and your health. Coffee makers are ranked as the fifth germiest place in homes, with about 50% of reservoirs containing yeast and mold. If you don't clean your coffee maker regularly, coffee residue and oily sludge can accumulate, leading to bitter-tasting coffee. Furthermore, these unseen germs can potentially cause allergic reactions or infections.
One major issue stems from mineral buildup caused by hard water. If you don't address this, mineral deposits can clog internal components, reducing your coffee maker's efficiency and lifespan. Regular coffee maker cleaning helps prevent this gumming up of the brewing process, ensuring you brew a cleaner, fresher cup of coffee.
To maintain peak performance, you should clean your coffee maker every month. Use a mixture of vinegar and water to descale your machine, which effectively breaks down mineral deposits. Additionally, run several cycles of plain water afterward to remove any residual vinegar taste. By prioritizing this routine, you'll enhance both the flavor of your coffee and the overall healthiness of your brewing equipment.
Tools and Supplies Required
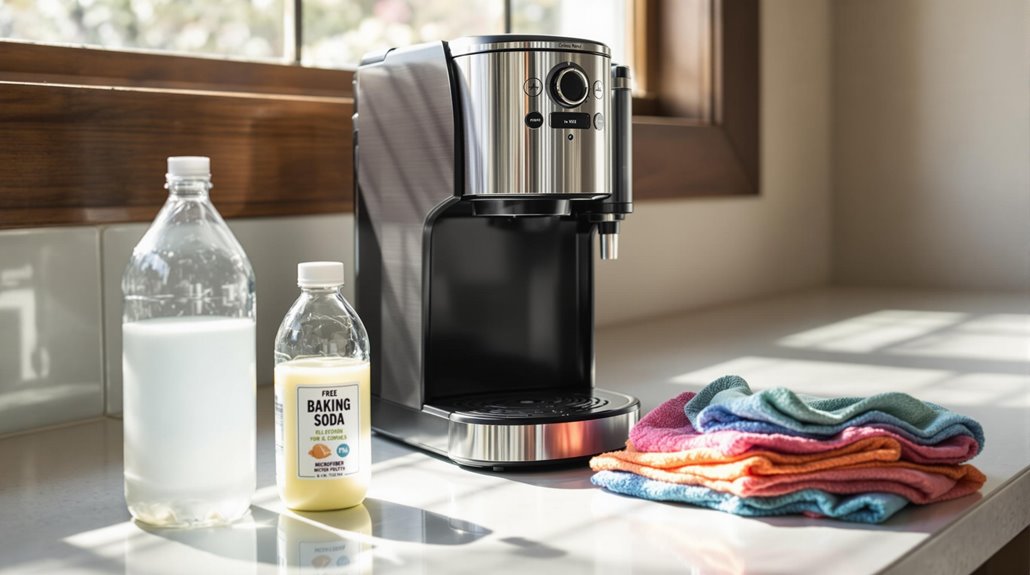
To effectively clean your coffee maker, you'll need a few essential tools and supplies that streamline the process. First and foremost, gather white distilled vinegar. This versatile solution is vital for sanitizing and dissolving mineral deposits that accumulate over time. You'll also need fresh water on hand to flush out any vinegar residue after the cleaning cycle.
Next, prepare coffee filters. Using them during the cleaning process guarantees proper flow of the cleaning solution through the coffee maker. Remember to have a cleaning cloth ready to wipe down the machine and carafe after you finish cleaning. This step helps remove any lingering stains or buildup.
Optionally, consider using dish soap and a soft-bristled brush for scrubbing removable parts like the carafe and filter basket. This is particularly useful for getting rid of stubborn stains or residue.
Step-by-Step Cleaning Process
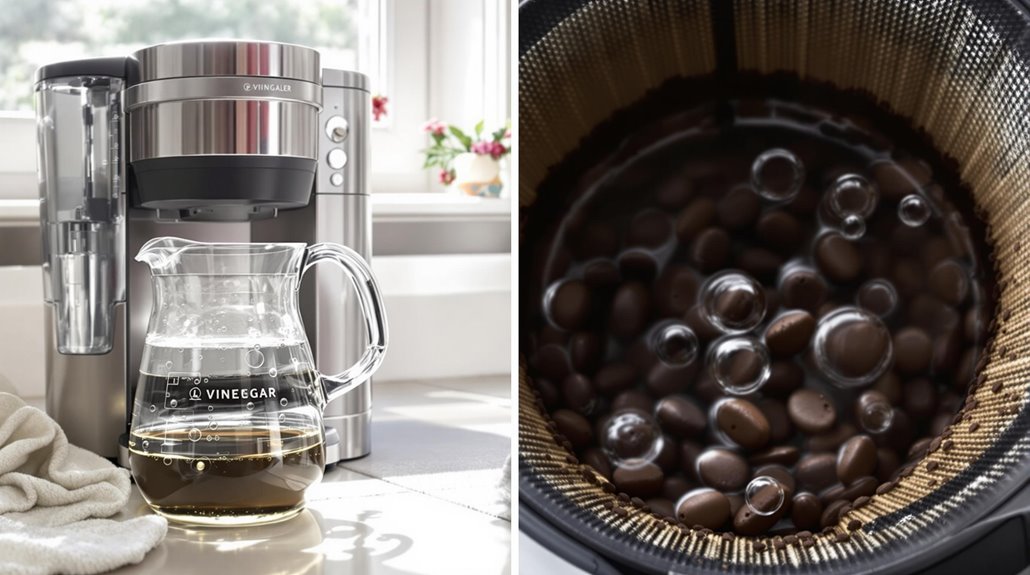
To start the cleaning process, gather your supplies and fill the reservoir with a 50-50 mixture of white vinegar and water. Next, run a brew cycle halfway, allowing the solution to sit for 30-60 minutes to break down mineral deposits. Afterward, you'll complete the cycle and move on to rinsing and final touches for a thorough clean.
Cleaning Preparation Steps
How do you guarantee your coffee maker is ready for a thorough cleaning? Start by unplugging the machine to maintain safety. Next, disassemble all removable parts, including the carafe, brew basket, and water reservoir. This step is vital for effective cleaning.
Once disassembled, discard any used coffee grounds left in the brew basket and rinse all removable parts under warm water. This helps remove loose debris and prepare them for deeper cleaning.
Now, prepare your cleaning solution by mixing equal parts of white vinegar and water, or alternatively, you can opt for a commercial coffee maker cleaner if preferred. Fill the water reservoir with this cleaning solution.
Run a brew cycle halfway, then pause the cycle to allow the solution to soak for about 30-60 minutes. This soaking period is essential for breaking down any mineral buildup and securing a thorough clean.
After the soaking time, complete the brew cycle, and discard the remaining solution. Finally, run 2-3 cycles with fresh water to rinse out any remaining residue, guaranteeing your coffee maker is ready for the next brew.
Brewing Vinegar Solution
Begin the cleaning process by filling your coffee maker's reservoir with a 50-50 mixture of white distilled vinegar and water, which serves as an effective descaling solution. Turn on your machine and run a brewing cycle until it's halfway complete. This allows the vinegar solution to start working on any mineral deposits within the system.
Next, pause the machine and let the vinegar solution sit for 30-60 minutes. This waiting period is vital for dissolving stubborn buildup. After the time has elapsed, resume the brewing cycle to complete it. Once finished, discard the vinegar solution and rinse the carafe thoroughly to remove any residue.
To guarantee all traces of vinegar are eliminated, run two additional brewing cycles using fresh water. This will flush out any remaining vinegar taste or residue from the coffee maker. Remember, it's important to confirm the machine is cool and unplugged before starting the cleaning process to avoid safety hazards. Following these steps will help maintain your coffee maker's performance and extend its lifespan.
Rinsing and Final Touches
After completing the brewing cycle with the vinegar solution, it's vital to rinse your coffee maker thoroughly to make certain it's free of any cleaning agents. Start by filling the water reservoir with fresh water. Next, run the coffee maker through a full brewing cycle. This step helps eliminate any remaining vinegar or cleaning solution. Repeat this process two more times, using fresh water each time, to guarantee a thorough rinse.
Once you've completed the rinsing cycles, turn your attention to the exterior of the coffee maker. Use a damp microfiber cloth to wipe down the surface, removing dust and any residue that may have accumulated.
Don't forget to dry all removable parts, including the carafe and filter basket, with a clean towel. This prevents water spots and discourages bacterial growth.
Inspect the machine for any lingering odors; if you notice any, repeat the rinsing process. Finally, reassemble all parts and confirm everything is completely dry before your next use. Following these steps will help you maintain a clean coffee maker and guarantee you consistently brew clean coffee.
Frequency of Cleaning
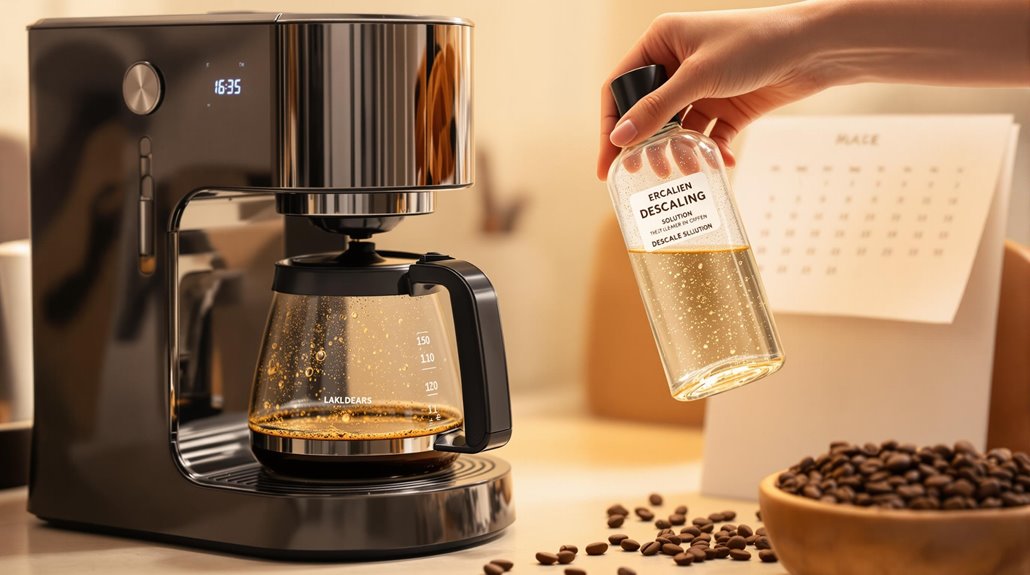
Cleaning your coffee maker regularly is essential for maintaining its performance and guaranteeing a great-tasting brew. To establish an effective cleaning schedule, start by rinsing the carafe and removable parts of your coffee maker daily after each use. This simple step prevents residue buildup and enhances flavor.
Each week, perform a more thorough cleaning of the water reservoir and brew basket to maintain hygiene and prevent mold or bacteria growth. Depending on how often you use your coffee maker, you should conduct a deep clean with vinegar or a descaling solution monthly. This process eliminates mineral deposits that can affect taste and performance.
For peak maintenance, check and clean internal components quarterly, especially in areas prone to limescale or grime accumulation. Finally, don't forget to replace worn-out parts, like filters or seals, annually to maintain your machine's efficiency and coffee quality. By following this frequency of cleaning, you'll guarantee your coffee maker continues to deliver excellent brews for years to come.
Tips for Maintaining Cleanliness
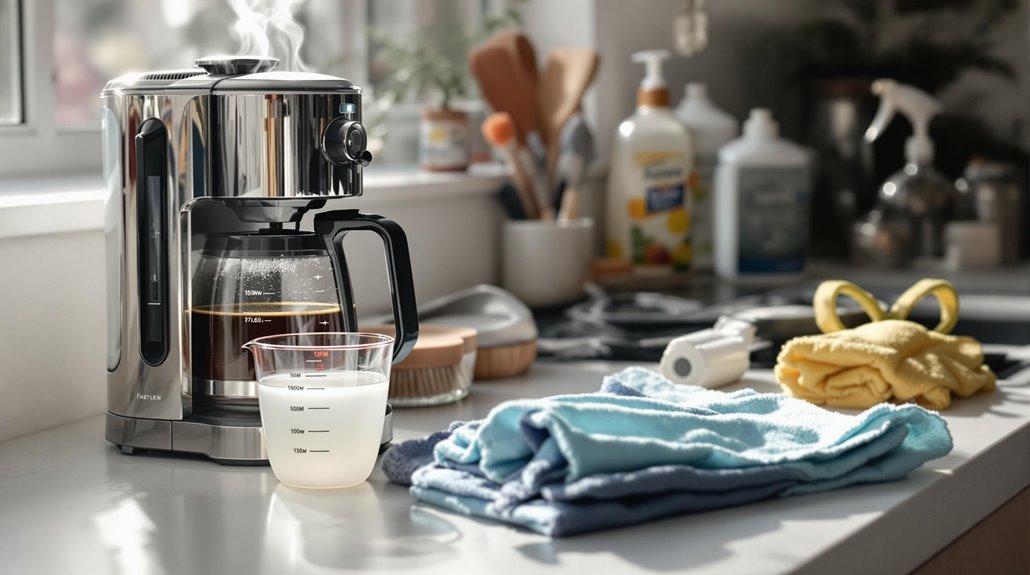
To maintain your coffee maker's cleanliness, adopt a proactive approach by incorporating daily habits into your routine. Start by using filtered water in your drip coffee maker. This helps reduce mineral buildup, ensuring ideal flavor in your coffee and less frequent need to clean a coffee maker.
Next, make it a habit to clean removable parts like the coffee pot and filter basket daily. This prevents residue accumulation that can affect taste and hygiene. After each brewing cycle, wipe down the exterior and showerhead with a damp cloth to remove any coffee splashes or oils.
Additionally, leave all compartments open to air dry after cleaning. This not only prevents bacterial growth but also avoids unpleasant odors. Always follow your coffee maker's manufacturer's cleaning schedule and instructions. Each model may have specific maintenance needs, and adhering to these guidelines will prolong the life of your appliance.
Signs Your Coffee Maker Needs Cleaning
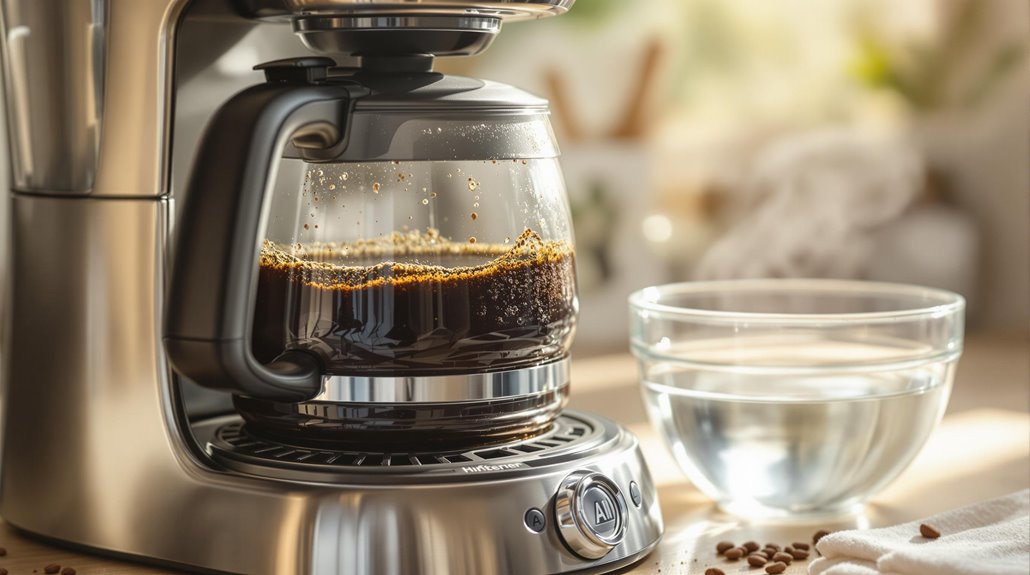
Maintaining cleanliness is essential, but how can you tell when your coffee maker needs a thorough cleaning? Look out for several key signs that indicate it's time to take action. If you notice unusual noises during brewing, like gurgling or sputtering, this often means there's mineral buildup or clogging affecting performance.
Pay attention to the taste of your coffee. A bitter or off-taste suggests that residual oils and residues from previous brews are impacting flavor quality. Additionally, if your coffee maker is brewing slower than usual or there's reduced water flow, it could signal blockages due to limescale or debris.
Check for visible signs, such as white or chalky residue in the water reservoir or carafe, which points to mineral deposits like calcium. Finally, a lingering unpleasant odor coming from the machine can indicate bacterial growth or stale coffee oils, further compromising your coffee's quality. By being aware of these signs, you can guarantee your coffee maker stays in peak condition, delivering fresh and flavorful brews every time. Don't ignore these cues; they're critical for maintaining the longevity of your machine and the quality of your coffee.
Monthly Cleaning Method
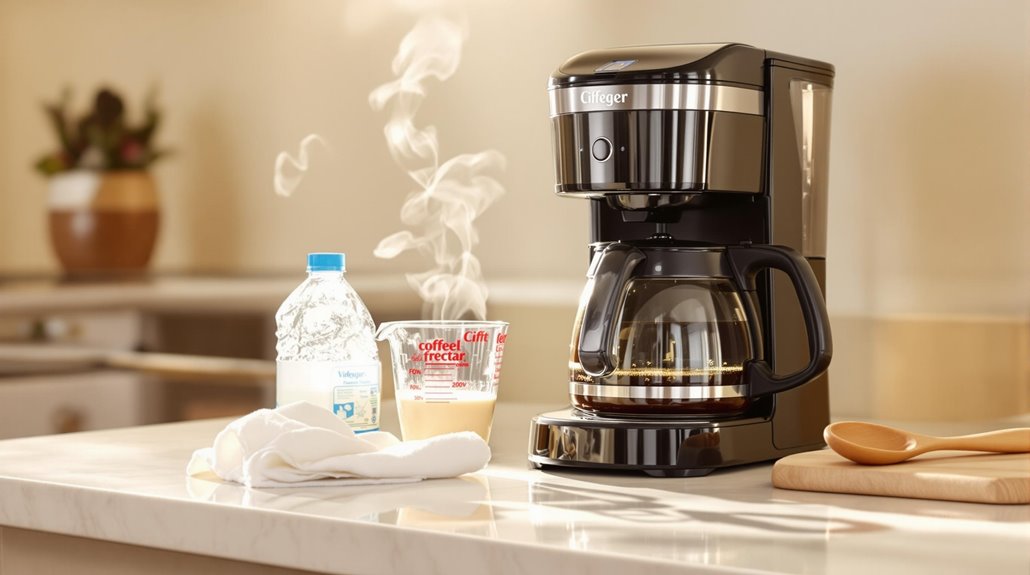
Regularly implementing a monthly cleaning method is essential for keeping your coffee maker in prime condition. Start by mixing equal parts white vinegar and water to create an effective cleaning solution. Pour this mixture into the water reservoir of your coffee maker and run it through a full brew cycle. This process helps dissolve mineral deposits that accumulate over time.
Once the cycle is complete, let the vinegar solution sit in the machine for 15-30 minutes for a thorough cleaning. Afterward, discard the used vinegar mixture, then rinse the carafe thoroughly. Don't forget to clean the filter to guarantee there's no residue left behind.
To remove any lingering vinegar taste, run two additional brew cycles using fresh water. This step is vital for restoring the flavor of your coffee and guaranteeing every cup you brew is fresh-tasting. By performing this monthly cleaning, you'll prevent calcium buildup and maintain the peak performance of your coffee maker every month. A clean machine not only enhances the taste of your coffee but also extends the life of your appliance.
Alternative Cleaning Solutions
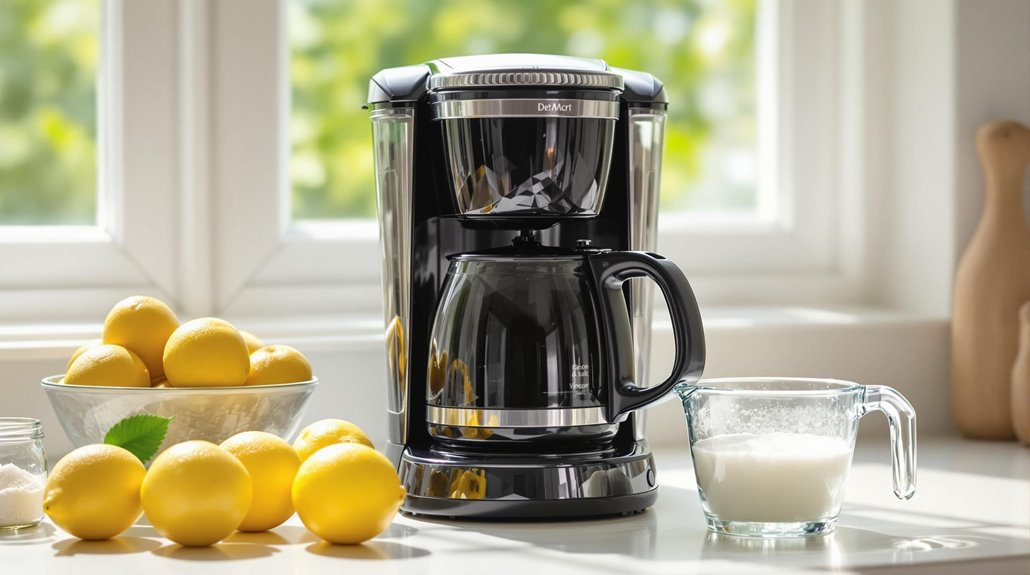
Exploring alternative cleaning solutions can enhance your coffee maker maintenance routine while effectively tackling mineral deposits. Instead of using white vinegar, try apple cider vinegar or lemon juice for descaling. Both options dissolve mineral buildup just as well and add a pleasant scent.
For a thorough clean and deodorization, create a baking soda solution by mixing one part baking soda with four parts warm water. Stir the mixture thoroughly to prevent clumping, which can clog your coffee maker during the cleaning process. Pour this solution into the reservoir and run a brew cycle.
Once you've used the alternative solutions, it's vital to run two water-only brew cycles to flush out any residue. This guarantees that your next pot of coffee tastes fresh and free of any lingering cleaning agents.
Additionally, to scrub away stubborn stains in the carafe, swirl rice with warm, sudsy water. The rice acts as an abrasive that helps lift grime without scratching the glass. By incorporating these alternative cleaning solutions into your routine, you'll maintain a cleaner coffee maker and enjoy a better brew.
Cleaning Dishwasher-Safe Models
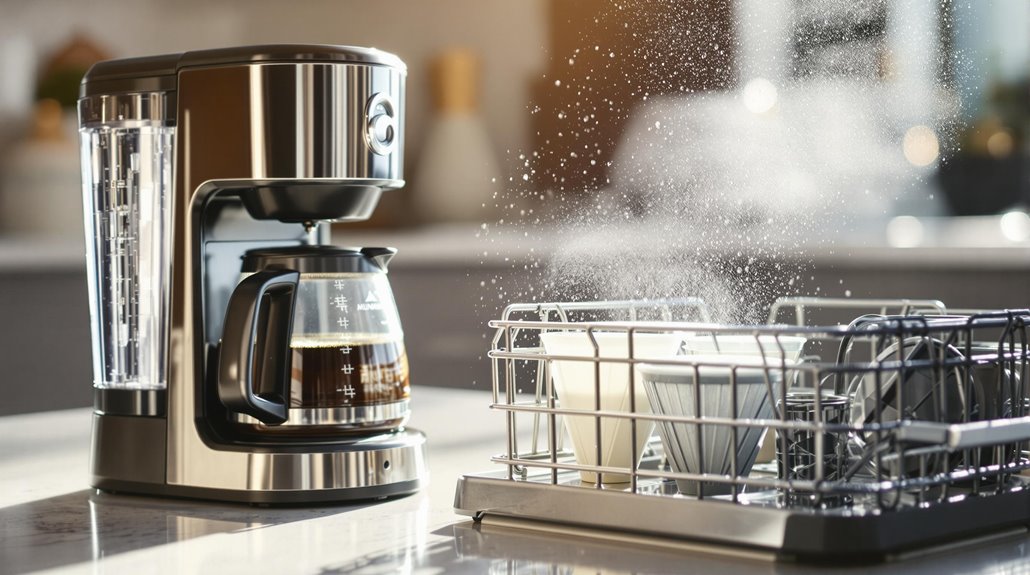
When cleaning dishwasher-safe coffee maker models, always verify which components can go in the dishwasher by consulting the manufacturer's instructions. Place removable parts like the carafe and filter basket on the top rack to avoid warping during the wash cycle. Regularly using the dishwasher not only streamlines your cleaning process but also effectively removes coffee oils and residue for ideal maintenance.
Safe Dishwasher Practices
Cleaning your coffee maker can be a breeze if you know how to properly use your dishwasher for its safe components. Start by checking the manufacturer's instructions to confirm which parts of your coffee maker are dishwasher-safe. Typically, only removable components like the carafe and brew basket can be cleaned this way.
Place these dishwasher-safe parts on the top rack to avoid damage from the high heat and strong detergents found on the lower rack. Remember, never put the electrical base, power cord, or any non-removable parts in the dishwasher, as this can lead to irreparable damage.
When running your dishwasher, choose a gentle or light cycle and use mild dish soap to clean the parts without causing wear or discoloration. After the cycle is complete, it's essential to thoroughly dry all components with a clean towel to prevent water spots or bacterial growth before reassembling your coffee maker.
Regular Maintenance Tips
To keep your coffee maker running smoothly, it's crucial to stay on top of regular maintenance for dishwasher-safe models. Start by checking the manufacturer's instructions to verify which parts are dishwasher-safe. Typically, components like the carafe, brew basket, and water reservoir can go in the dishwasher, but you should remove and clean them after each use to prevent residue buildup.
Place smaller or more delicate parts on the top rack of the dishwasher to avoid damage from high heat or strong detergents. Remember, never put the coffee maker's electrical base, power cord, or heating element in the dishwasher, as these aren't designed for submersion.
After the dishwasher cycle, reassemble your coffee maker and run a water-only brew cycle. This step guarantees that no detergent residue remains, which could affect the taste of your coffee. Additionally, consider using a coffee maker cleaner or a solution of vinegar and water periodically to maintain peak performance. Following these regular maintenance tips will help you enjoy clean coffee and extend the life of your drip coffee makers.
Preventing Mineral Buildup
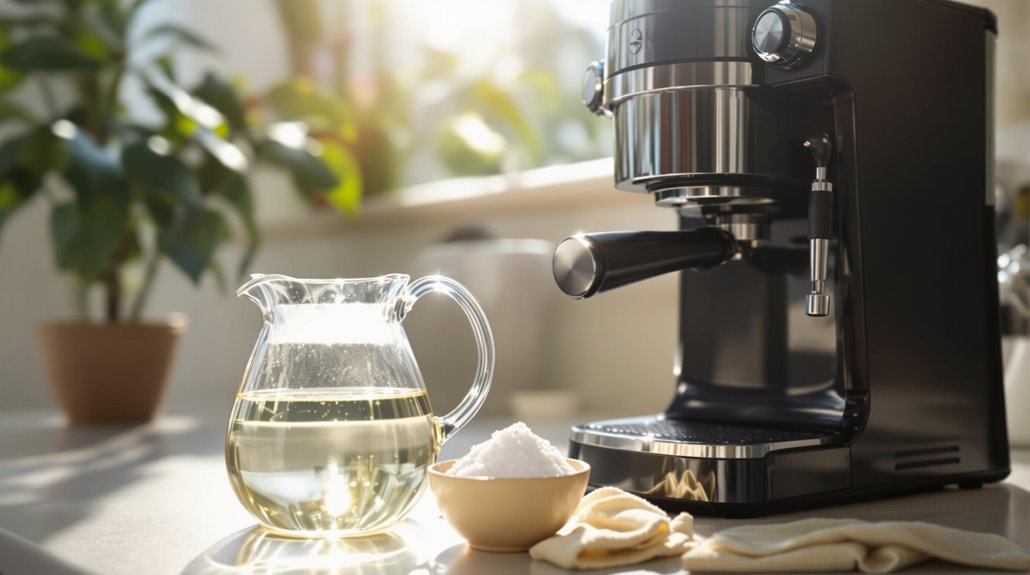
Preventing mineral buildup in your coffee maker is essential for maintaining its performance and extending its lifespan. To start, always use filtered water in your drip coffee machine. This reduces mineral concentration and helps prevent limescale buildup, guaranteeing your coffee tastes great and your machine runs smoothly. If you use your coffee maker daily, descaling it monthly is crucial; increase the frequency if you have hard water.
To effectively descale, run a cycle with a half-vinegar, half-water solution. This method breaks down calcium and magnesium deposits that accumulate over time. After completing the cycle, make sure to run several cycles with clean water to eliminate any vinegar residue.
Additionally, avoid using distilled water, as it can attract metal ions and potentially cause corrosion in some machines. Regularly rinse and wash the removable parts of your coffee maker daily to minimize mineral residue. This simple practice, combined with periodic descaling, will help you maintain your coffee machine's efficiency and guarantee you enjoy the best tasting coffee every time. Remember, a well-maintained machine makes all the difference in your daily brew.
Disclosure: As an Amazon Associate, I earn from qualifying purchases.
