

Roasting your own coffee beans at home gives you control over flavor profiles and freshness, but it's not as simple as tossing beans in a pan. You'll need to choose the right green beans, understand the stages of roasting, and decide on a method that suits your setup—whether it's a pan, oven, or even a popcorn machine. Each approach has its nuances, from temperature control to timing the cracks. But what happens if you miss a critical step? The difference between a perfect roast and a burnt batch might surprise you.
Key Takeaways
- Choose fresh green coffee beans with a harvest date within the past year for optimal flavor and moisture content of 10-12%.
- Use a popcorn machine, oven, or skillet to roast beans, ensuring constant movement to prevent scorching and achieve even roasting.
- Monitor roasting stages: first crack (390°F) for light roast, second crack (440°F) for medium-dark to dark roast.
- Cool beans immediately after roasting using a sieve and fan to stop the process and remove chaff for a clean finish.
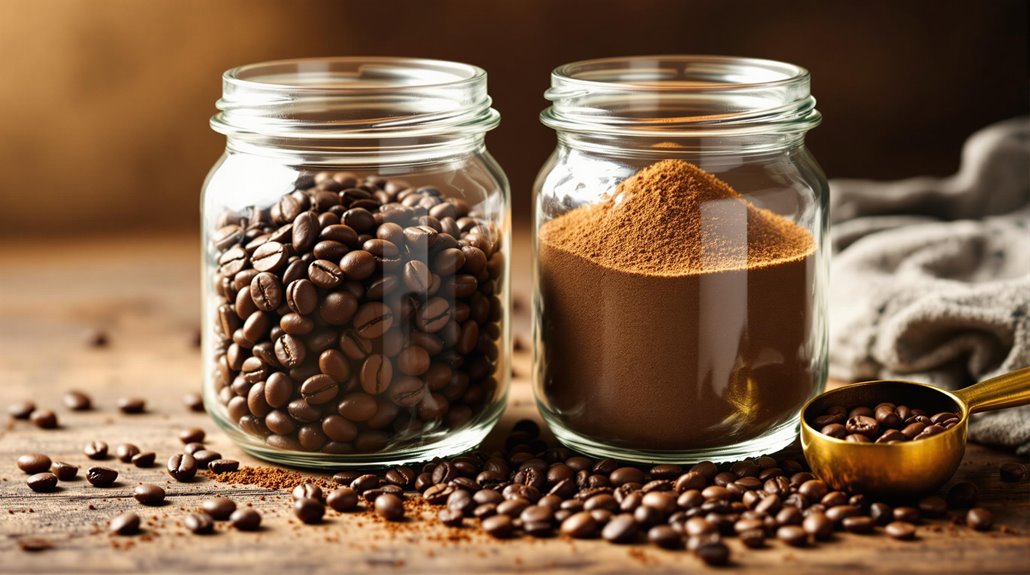
- Store roasted beans in airtight containers away from sunlight to preserve freshness and flavor for up to a year.
Choosing the Right Green Coffee Beans
When starting your journey into home coffee roasting, selecting the right green coffee beans is essential. Begin by exploring sample packs that feature 1lb bags from different growing regions. These allow you to taste and compare flavor profiles influenced by origin, such as fruity Ethiopian beans or chocolatey Colombian varieties. Pay attention to the harvest date—fresher beans, ideally within the past year, guarantee better flavor development. Check the moisture content, which should be between 10-12%, as this impacts how evenly the beans roast. Research the processing method, whether it's washed, natural, or honey-processed, as each technique brings distinct characteristics to the cup. Store your green coffee beans in a cool, dry place, away from sunlight, to preserve their freshness for up to a year. Experiment with small lots to identify your preferences, whether you're drawn to nutty, floral, or citrusy notes. By understanding these details—origin, harvest date, processing method, and storage—you'll set the foundation for crafting exceptional coffee at home.
Understanding Coffee Roasting Stages
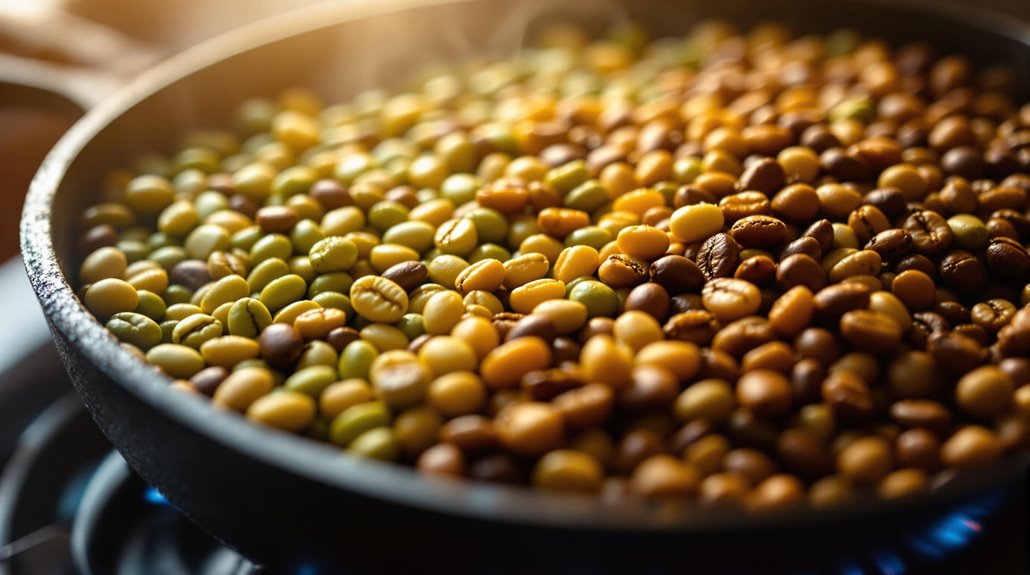
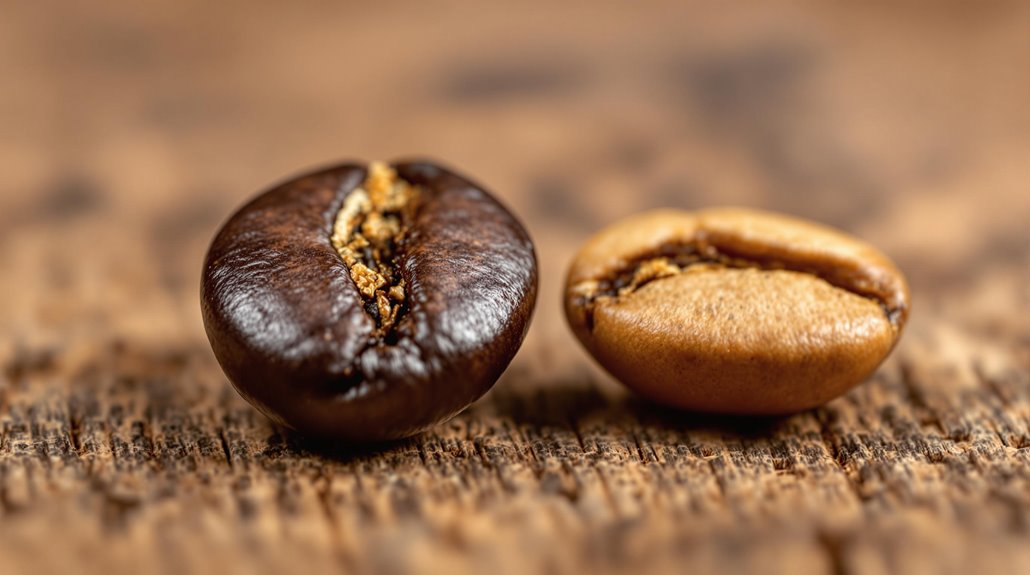
You'll notice the yellowing stage as beans lose moisture, turning pale yellow and releasing a grassy scent, signaling the start of transformation. The first crack is your cue for a light roast, with a sharp, audible pop indicating the beans have reached around 390°F and developed balanced acidity. When you hear the second crack, a faster, more intense sound at 440°F, you're entering medium-dark to dark roast territory, where oils emerge and flavors deepen.
Yellowing Stage Characteristics
How does the yellowing stage transform raw coffee beans into the foundation of flavor? As you begin the roasting process, green beans shift from their raw, grassy state to a pale yellow hue, signaling the start of flavor development. At temperatures between 350-500°F, moisture evaporates, and the beans lose their dense, green appearance. You'll notice a grassy aroma filling the air, a sign that chemical reactions are underway. Agitation is key here—keeping the beans moving guarantees even heat distribution and prevents scorching, which is critical for achieving an even roast. This stage typically lasts 3-5 minutes, and it's where the groundwork for deeper flavor complexity is laid. The yellowing stage prepares the beans for the Maillard reaction and caramelization, which will follow in later phases. Pay close attention to heat and movement; these factors directly influence how the beans develop. By mastering this initial phase, you set the stage for a balanced, flavorful roast that highlights the unique characteristics of your coffee. Precision and patience here will reward you with a foundation for exceptional flavor.
First Crack Significance
The yellowing stage sets the stage for what comes next: the first crack, a defining moment in coffee roasting. As your home coffee roaster reaches around 390°F (199°C), you'll hear an audible cracking sound, signaling the first crack. This is when the beans expand, release moisture, and begin caramelization, a process that transforms sugars and reveals complex flavors. The first crack typically occurs 3-5 minutes into the roasting process, marking the shift from drying and browning to true flavor development. At this stage, you're achieving a light roast, often called a City roast, which highlights bright, acidic notes and preserves the bean's origin characteristics. If you stop the roast shortly after the first crack, you'll capture a delicate balance of sweetness and acidity, ideal for those who enjoy nuanced, vibrant coffee. Pay close attention to the timing and sound—this milestone is critical for controlling the roast level and ensuring your roast coffee beans reach their full potential. The first crack isn't just a sound; it's the heartbeat of the roasting process, where the magic of flavor truly begins.
Second Crack Indicators
As the roast progresses beyond the first crack, the beans undergo another transformative phase: the second crack. This stage occurs around 440°F (227°C) and is marked by a sharper, faster cracking sound compared to the first crack. At this point, the beans start to release oils, and their sugars fully caramelize, signaling the shift to darker roasts. The second crack typically happens 1-2 minutes after the first crack, depending on your roasting methods and heat application. As chemical reactions happen more intensely, the beans have reached a medium-dark to dark roast level, with flavors becoming richer and more robust. If you let the roast progress further, you'll achieve Vienna or French roasts, characterized by smoky, intense profiles and a shiny, oily surface. However, stopping the roast shortly after the second crack guarantees a bold flavor without excessive bitterness or carbonization. Pay close attention to the development time during this phase, as it's critical for balancing depth and complexity in your final cup. Mastering the second crack reveals the potential for truly exceptional darker roasts.
Pan Roasting Method for Beginners
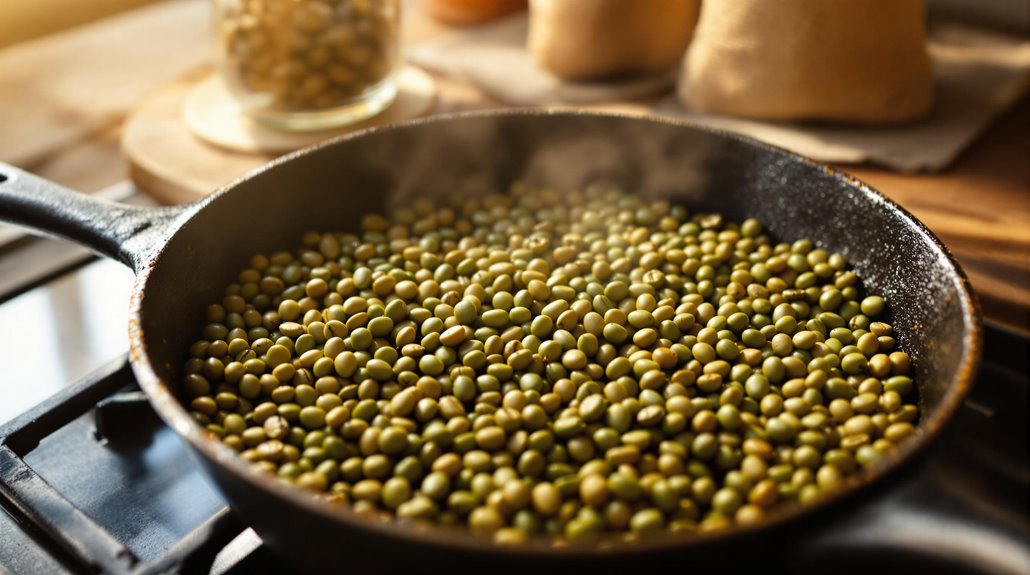
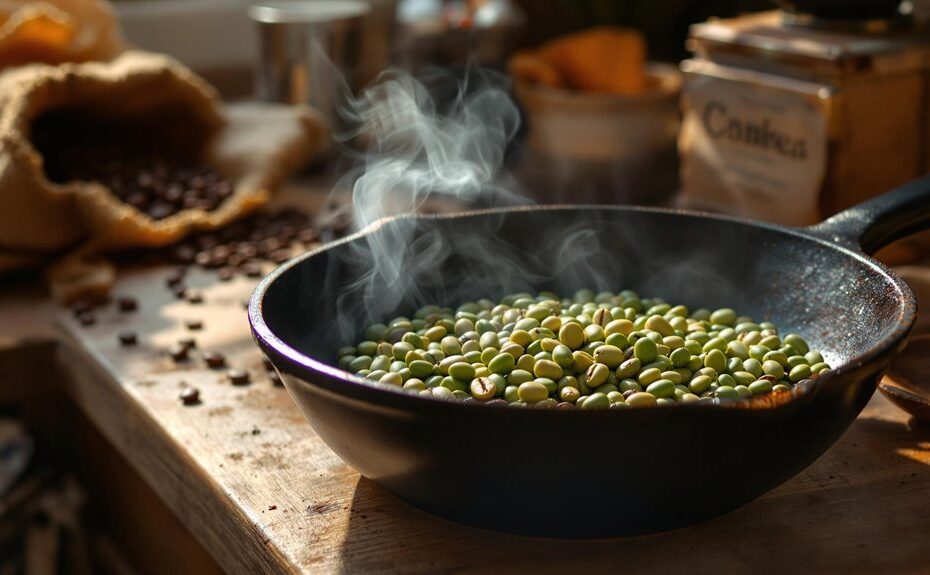
Pan roasting coffee beans at home offers a hands-on, rewarding experience for beginners keen to explore the art of coffee crafting. Start by spreading unroasted coffee beans evenly on a heavy skillet or frying pan. Heat the pan on medium, stirring constantly with a wooden spoon to guarantee even roasting and prevent burning. As the beans heat, you'll hear the first crack, a light popping sound that marks the first stage of roasting and indicates a light roast. This typically happens around 5-10 minutes. If you prefer a darker roast, continue roasting until you hear the second crack, a sharper sound, which occurs around 20 minutes. The beans will crack twice, signaling different roast levels. Throughout the process, maintain constant motion to avoid scorching and guarantee uniformity. Once roasted, immediately transfer the beans to a flat surface or colander to cool, halting the roasting process and locking in flavor. Remember to wear protective goggles and guarantee proper ventilation, as pan roasting generates smoke and chaff. This method is perfect for your first time roasting at home, offering control and a deep connection to the craft.
Oven Roasting for Even Results
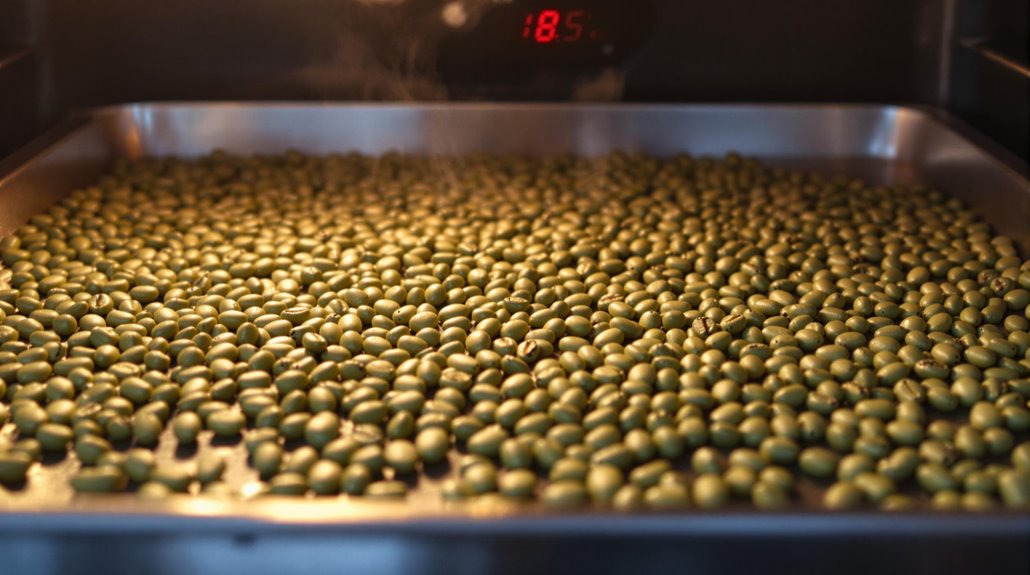
For those seeking a hands-off yet precise method to roast coffee beans, oven roasting provides an excellent alternative to stovetop techniques. Start by preheating your oven to 450°F (232°C) and spreading green coffee beans evenly on a perforated baking sheet. This guarantees consistent airflow and promotes even browning during the roasting process. Roast the beans for 15-20 minutes, stirring every 5 minutes to prevent scorching and achieve uniform results. Around 7-10 minutes, you'll hear the first crack, indicating a light roast. If you prefer a darker roast, wait for the second crack, which typically occurs between 12-15 minutes. Use an oven thermometer to monitor temperature fluctuations, as maintaining the right heat is vital for peak flavor development. Once the beans reach your desired roast level, remove them immediately and cool them on a flat surface or in a colander to halt the roasting process. This step locks in the beans' complex flavors and aromas. Oven roasting offers a controlled environment for achieving consistent, professional-quality results, making it an ideal choice for home roasters.
Using a Popcorn Machine for Roasting
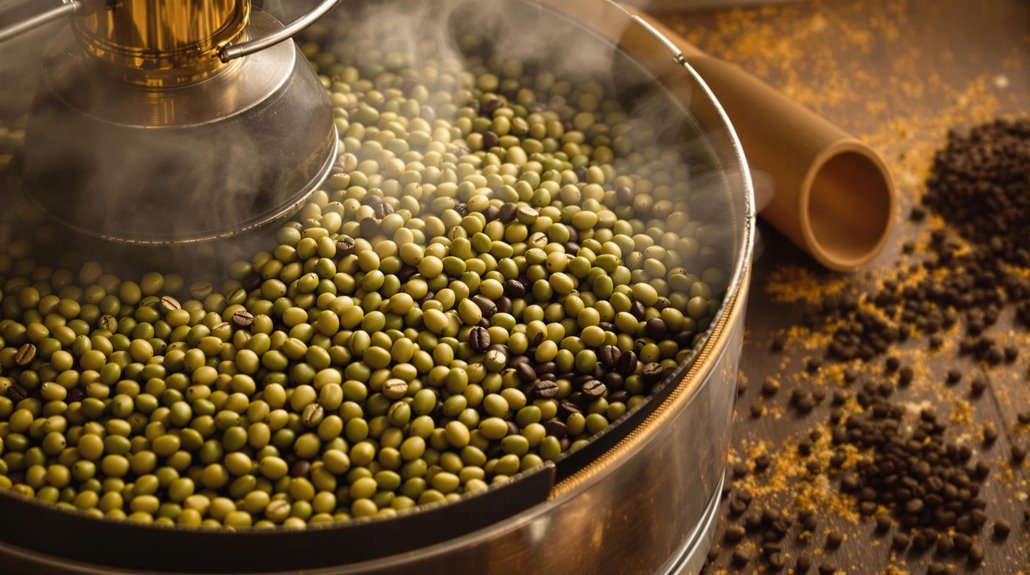
Why not repurpose a hot air popcorn machine for roasting coffee beans? This method is efficient, affordable, and delivers consistent results. Choose a popcorn machine with a mesh screen to guarantee even roasting and constant bean movement, which is critical for uniformity. If your machine lacks a built-in agitator, stir the beans manually to prevent scorching. Roasting typically takes 8–12 minutes, so listen closely for the first crack around the 4-minute mark, signaling the start of a light roast. The second crack, around 6 minutes, indicates a darker roast level. Adjust your timing based on your preferred roast profile. Once done, cool beans immediately using a sieve and a fan to halt the roasting process and remove chaff. Avoid popcorn machines with solid bottoms, as they can overheat and create a fire hazard. With careful monitoring and attention to detail, you'll achieve a professional-quality roast at home, releasing the full potential of your coffee beans.
Advanced Techniques With Home Coffee Roasters
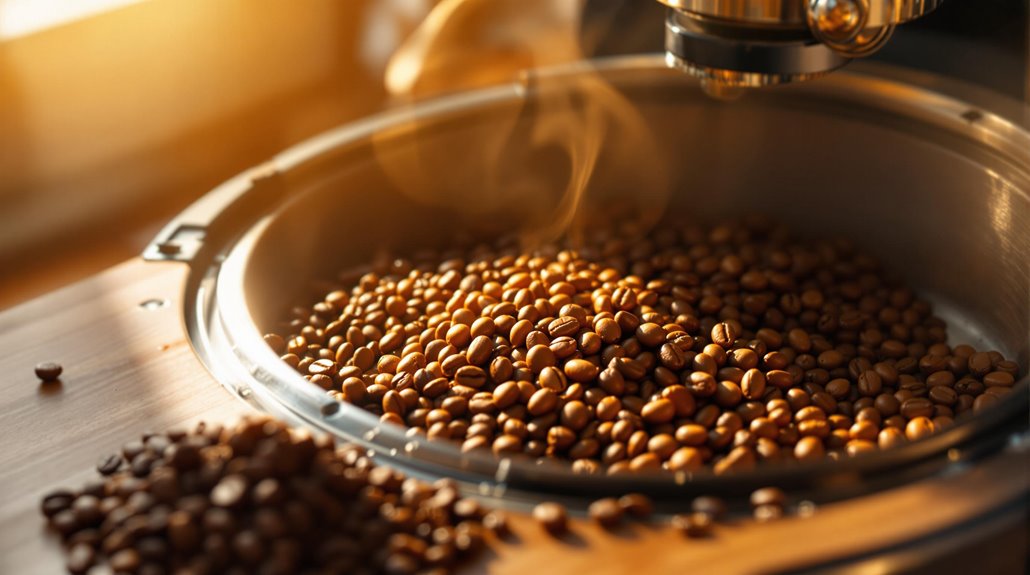
Mastering advanced techniques with a home coffee roaster reveals the ability to craft roasts tailored to your exact preferences. Start by leveraging precise temperature control, keeping your roaster between 350°F and 500°F to achieve consistent results. Monitor roast progression closely, aiming for the first crack at 390°F and the second crack at 440°F, as these milestones define your roast level. Adjust airflow settings to manage chaff buildup and smoke, ensuring even heat distribution and preventing off-flavors. Experiment with roast profiles by tweaking time and temperature to highlight specific flavor notes, whether you prefer fruity brightness or deep, nutty undertones. Regularly clean your coffee roaster to prevent chaff and oil accumulation, which can compromise flavor and equipment performance. By fine-tuning these variables, you'll access the full potential of home coffee roasting, transforming green beans into a cup that's uniquely yours. Embrace the precision and artistry of advanced techniques to elevate your coffee experience.
Disclosure: As an Amazon Associate, I earn from qualifying purchases.
