


Like a morning without sunlight, a coffee maker that refuses to brew can leave you stranded in frustration. You've checked the basics—power, water, and grounds—but the machine remains stubbornly silent. Is it a hidden clog, a faulty heating element, or something deeper lurking beneath the surface? The answer might lie in the details you've overlooked, and uncovering it could save your mornings from chaos. But before you give up and reach for instant coffee, consider the subtle clues that could point to the root of the problem. What's really stopping your coffee maker from doing its job?
Key Takeaways
- Check if the coffee maker is plugged in and the power switch is turned on; test the outlet with another device.
- Inspect the water reservoir for blockages, insufficient water levels, or leaks; clean regularly to prevent mineral buildup.
- Ensure the coffee grind size and filter type are appropriate; clean or replace filters to avoid slow brewing or blockages.
- Test the heating element, thermostat, and pump for functionality; replace faulty components if no continuity is detected.
- Descale the machine regularly to remove limescale deposits and maintain proper water flow and heating efficiency.
Power Supply and Activation Problems
If your coffee maker isn't working, the first step is to check the power supply and activation. Start by verifying the machine is plugged into a functioning wall outlet. Inspect the power cord for visible damage, fraying, or wear that could interrupt the connection. If the cord appears intact, make sure the power switch is turned on and check for tripped circuit breakers or a blown fuse in your home's electrical panel. A blown fuse or tripped breaker can cut off the power supply entirely, preventing the machine from activating.

Next, test the outlet with another device to confirm it's functioning properly. If the outlet works, but the coffee maker still doesn't turn on, inspect the power cord for loose connections or internal damage. A faulty power cord can prevent the machine from receiving adequate power. If your coffee maker has a reset button, press it after confirming the outlet and cord are in good condition. This can restore power if the machine has an internal safety mechanism triggered by a power surge or interruption. Addressing these issues systematically guarantees you rule out basic power supply and activation problems before moving on to more complex troubleshooting.
Water Reservoir and Flow Issues
After confirming your coffee maker has power and is properly activated, the next step is to examine the water reservoir and flow system. Start by inspecting the water reservoir for blockages or debris that could obstruct water flow. Make sure it's filled to the required level, as insufficient water can disrupt brewing. Check for leaks in the reservoir or connecting hoses, as these can prevent proper water flow and cause malfunctions. If you notice cracks or damage, replace the reservoir immediately to avoid further issues.
Regular cleaning is essential to maintain peak performance. Mineral buildup from hard water can clog the water lines, reducing flow efficiency. Clean the reservoir with a mixture of vinegar and water to dissolve deposits, and rinse thoroughly to prevent residue. Pay attention to the water inlet and outlet areas, as these are prone to clogs. By maintaining a clean water reservoir and making sure unobstructed water flow, you'll prevent many common brewing problems and extend the lifespan of your coffee maker.
Coffee Quality and Grind Troubles
When your coffee maker produces weak or inconsistent brews, the issue often lies in the quality of your coffee or the grind. Start by evaluating your grind size, as it directly impacts extraction. If the grind is too fine, it can over-extract, leading to bitterness; if too coarse, it under-extracts, resulting in weak coffee. Adjust your grinder to a medium-coarse setting for drip machines or finer for espresso, depending on your brewer type. Always use fresh, high-quality coffee beans and grind them just before brewing to preserve flavor and aroma. Stale or pre-ground coffee loses its freshness, leading to flat-tasting brews. Clean your grinder regularly to remove old residue that can affect grind consistency and flavor. Check the burrs for wear and replace them if they're dull, as worn burrs produce uneven grinds. Finally, make sure your coffee-to-water ratio is balanced—1-2 tablespoons of coffee per 6 ounces of water—to achieve the right strength. By addressing these factors, you'll improve your coffee's quality and consistency.
Clogged Filters and Maintenance Needs
Clogged filters are a common culprit behind coffee maker malfunctions, often causing slow brewing or complete failure. When your coffee filter becomes clogged, it restricts water flow, preventing proper extraction and brewing. To avoid this, perform regular maintenance by cleaning or replacing your coffee filter frequently. If you use a reusable filter, rinse it thoroughly after each use and deep-clean it weekly to remove coffee residue and oils that can accumulate over time. For paper filters, make sure you're using the correct size and type for your machine, as improper filters can lead to blockages.
Mineral buildup from hard water is another major cause of clogged filters. Descaling your coffee maker every 1-3 months, depending on water hardness, prevents mineral deposits from obstructing the filter and internal components. Additionally, check the brew basket and filter holder for trapped coffee grounds or debris, as these can also impede water flow. Using filtered or distilled water reduces mineral deposits, extending the life of your coffee filter and maintaining peak performance. By addressing these issues proactively, you'll keep your coffee maker running smoothly and avoid brewing interruptions.
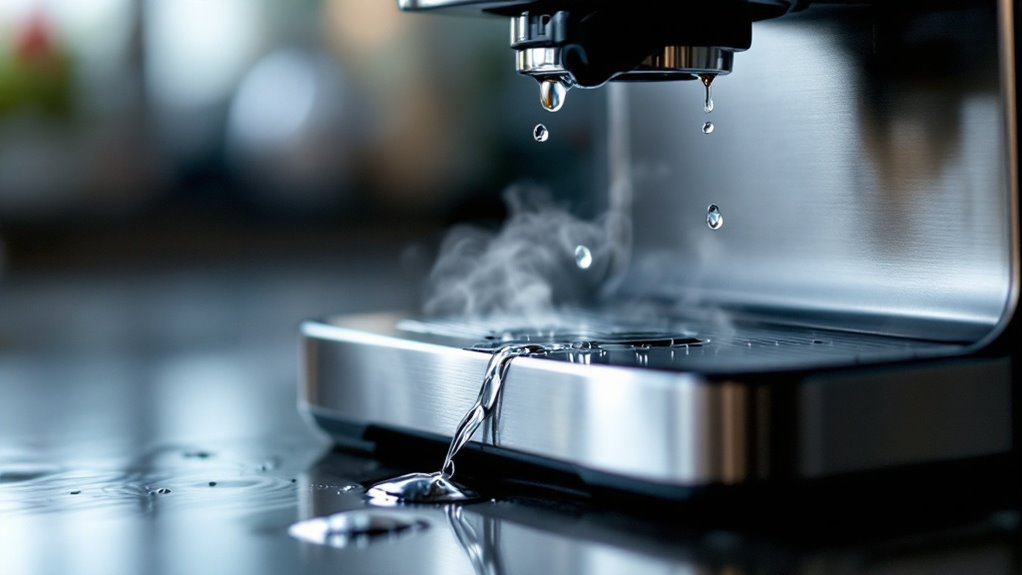
Heating and Steam Function Failures
If your coffee maker isn't heating properly, check the heating element for signs of malfunction, such as failure to reach 195°F to 205°F. Steam wand blockages, often caused by mineral buildup, can disrupt steam flow and require descaling or thorough cleaning. Inspect the thermostat and thermal fuse, as a faulty one can prevent heating or cause overheating, necessitating replacement.
Steam Wand Blockages
Steam wand blockages are a common issue that can disrupt your coffee maker's heating and steam functions, often caused by mineral deposits from hard water. When these deposits accumulate, they restrict the flow of hot water and steam, leading to weak or no steam output. This can severely impact your ability to froth milk or dispense hot water effectively. Regular cleaning helps prevent these blockages and guarantees your coffee machine operates efficiently.
To address minor blockages, use a pin or needle to clear the steam wand tip. For more persistent issues, descale the wand using a descaling solution to dissolve mineral buildup. If external cleaning doesn't resolve the problem, inspect the internal tubing for kinks or additional buildup. Always purge the steam wand after each use to prevent residue from hardening.
Maintaining your steam wand is vital for consistent performance. Incorporate descaling into your routine maintenance, especially if you use hard water. By addressing blockages promptly and cleaning regularly, you'll keep your coffee machine's steam function in peak condition.
Heating Element Malfunctions
Heating element malfunctions can disrupt both the brewing and steam functions of your coffee maker, leading to inadequate temperature or complete failure. In drip coffee makers, the heating element is responsible for heating water to the ideal brewing range of 195°F to 205°F. If your coffee is lukewarm or cold, the heating element may be faulty. Mineral buildup from hard water is a common culprit, as it coats the element and reduces its efficiency over time. To diagnose the issue, use a multimeter to test the heating element for continuity; a reading outside the 0-1Ω range indicates it needs replacement. Additionally, check the thermal fuse, which can blow and cut power to the element. If the fuse is faulty, replace it to restore functionality. Regular descaling with a manufacturer-approved solution can prevent mineral buildup and extend the heating element's lifespan. For appliance repair, always unplug the coffee maker before inspecting or replacing components. Addressing heating element issues promptly guarantees your drip coffee maker operates efficiently and delivers consistently hot coffee.
Common Brewing and Pump Errors
A clogged water line or pump can bring your coffee maker to a standstill, often due to mineral buildup from hard water. If your coffee machine isn't brewing, check for blockages in the water line or pump. Mineral deposits can restrict water flow, preventing the pump from functioning properly. Regular descaling is essential to prevent this issue—use a descaling solution or vinegar to clean the internal components.
A malfunctioning pump may also fail to push water through the system, leaving you with no coffee output. Listen for unusual noises or silence during operation, as these can indicate pump failure. Air trapped in the pump or water lines can disrupt flow, so prime the system by running a cycle without coffee grounds.

Faulty pressure sensors or switches in the pump system can halt brewing entirely. Inspect these components for damage or wear and replace them if necessary. Regular maintenance, including cleaning and descaling, guarantees your coffee machine operates efficiently. Addressing these common brewing and pump errors promptly can save you from costly repairs or replacements.
Advanced Troubleshooting Techniques
Testing the internal components of your coffee maker can help pinpoint issues that aren't immediately visible. Start by using a multimeter to check the continuity of the thermostat. At room temperature, it should read between 0-1 Ohm (Ω). If the reading is outside this range, the thermostat may need replacement. Next, inspect the thermal fuse for continuity; a reading beyond 0-1Ω indicates it's faulty and should be replaced.
Move on to the heating element, a critical component for brewing. Test its resistance with a multimeter to verify it's functioning properly. A lack of continuity here suggests the heating element is defective and requires replacement. Additionally, examine the pump for blockages or failure, as a malfunctioning pump can disrupt water flow and prevent brewing.
Finally, descale the machine thoroughly to remove mineral buildup that may obstruct internal components. Use a descaling solution or vinegar to clean the system, confirming all pathways are clear. By systematically testing these components, you can identify and resolve issues that prevent your coffee maker from working efficiently.
Preventive Maintenance Best Practices
To keep your coffee maker running smoothly, establish a regular cleaning schedule that includes descaling every 3 months for soft water or monthly for hard water. Use filtered or distilled water to minimize mineral buildup and guarantee consistent water flow through the reservoir, filter basket, and brew head. Periodically run an empty cycle with a cleaning solution to maintain heating efficiency and prevent residue-related issues.
Regular Cleaning Schedule
Maintaining a regular cleaning schedule for your coffee maker is essential to secure its longevity and top performance. For a drip coffee maker, start by consulting the user manual for specific cleaning instructions tailored to your model. Manufacturers often provide detailed guidelines to help you avoid damaging internal components. Clean the water reservoir and carafe weekly with warm, soapy water to prevent bacterial growth and residue buildup. Wipe down the exterior and drip tray daily to maintain hygiene and prevent coffee stains.
Descaling is critical to remove mineral deposits that accumulate over time. Use a descaling solution or a 1:1 water-vinegar mixture every 1-3 months, depending on water hardness. Run a cleaning cycle with only water after each use to flush out coffee oils and grounds, securing ideal water flow. Replace or clean reusable filters after every brew to prevent clogs and maintain efficiency.
If you encounter issues, contact the manufacturers customer support for troubleshooting advice. A consistent cleaning routine not only extends the life of your coffee maker but also secures every cup tastes fresh and flavorful.
Proper Water Usage Tips
Proper water usage is a key factor in keeping your coffee maker functioning efficiently. Always use filtered or distilled water to minimize mineral buildup, which can clog internal components and reduce brewing performance. Hard water accelerates limescale accumulation, so avoid it to extend your machine's lifespan. Fill the water reservoir only to the marked level—overfilling can cause spills, while underfilling may result in weak or incomplete brewing. Regularly descale the machine every 1-3 months, depending on your water's hardness, to remove limescale deposits that hinder heating elements and water flow. Descaling solutions or vinegar can effectively break down these deposits. Additionally, clean the water reservoir weekly to remove residue and guarantee ideal water flow during brewing. Neglecting these steps can lead to clogs, inconsistent temperatures, or even permanent damage. By prioritizing proper water usage, you'll maintain your coffee maker's efficiency and prevent common issues that disrupt its performance.
Disclosure: As an Amazon Associate, I earn from qualifying purchases.